


Let's face it, everyone has different skills. One person may be great at playing guitar, but not know how to turn on a computer, while another might be great at programming, but not know how to play a single chord. As humans, we like to play to our strengths and work with what we know. This is why since I've been in the Printing & Publishing industry, I've seen a number of different types of job files come through the door, From PDFs to JPEGs, and InDesign to Word. Some are great to work with, while others can be problematical. One program that can regularly cause headaches for both you and your printer is Adobe Photoshop.
Let's go ahead and get it out there: Photoshop is not a layout program! It is intended to edit photographs and images, hence the name.
The industry standard programs for layout and print production are InDesign and Quark, and the standard job file is a PDF. If you don't follow this standard, you will work harder for poor results.
That being said, I understand that life isn't that simple. You've been using Photoshop for years and you know it like the back of your hand. You don't have the time or the inclination to learn a program like InDesign, nor the money to invest in new software. Photoshop works and you're sticking with it.
I get it. So let's talk about designing a Photoshop file that will give you decent results by focusing on Photoshop's biggest failing: type.
Type in Photoshop
Photoshop is, by nature, a 'Raster Editing' program, whereas print shops expect typesetting done by a 'Vector Editing' program. In case that sounds like Greek, here's the difference:
Raster vs. Vector
Raster images represent a rectangular grid of pixels, or a bitmap. Examples of common raster images would be JPEGs, Bitmaps, PNG files, TIFFs, RAW or, you guessed it, Photoshop Files. These are the type of files Photoshop was designed for.
Vector Graphics use points, lines, shapes and polygons based on mathematical expressions to represent images. This results in a graphic is that it is scalable to any size without losing quality. Examples of common vector graphics are PDFs, AI, SVG, SWF and fonts. Adobe Illustrator is the popular editor for these types of files.
So now that we know a little more about Vector and Raster images, let's talk about how that affects your type in Photoshop.
Since Photoshop is a Raster Editing program, it will want to flatten your text and images into a single image, such as a JPEG or PNG file. This creates two problems: text will not be trapped and 1-color type will be converted to 4-color type. I know, I know, more technical lingo.
Trapping
When black type is overlaying a color or image, the type area will be "knocked out" so the underlying ink won't make the type appear muddy or smeared. Trapping is a method of adjusting the knock out area so that the edges of the type will overlap. This will prevent registration problems from causing white areas or "ghosting" around the type.
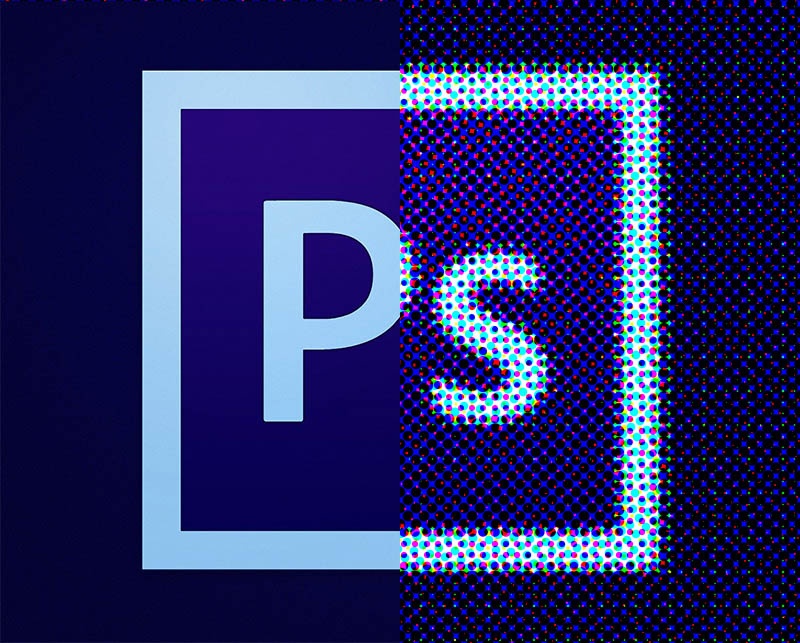
4-Color Type
When type is Rasterized, not only will it prevent trapping, but the black in Photoshop will be converted to 4-Color black. This tends to give the type a 'fuzzy' or 'blurred' appearance.
Making it Work
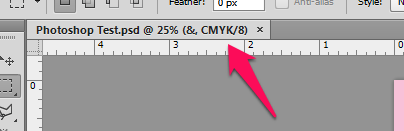
Despite the fact that typesetting in Photoshop is kind of like using a screwdriver to hammer a nail, we can make it work. The first step is making sure your document is in CMYK mode (not RGB). You can verify this by looking at the title tab. It should say CMYK/8 in parenthesis after the name of your document. You can change it by clicking Image / Mode / CMYK Color in the top menu if necessary.
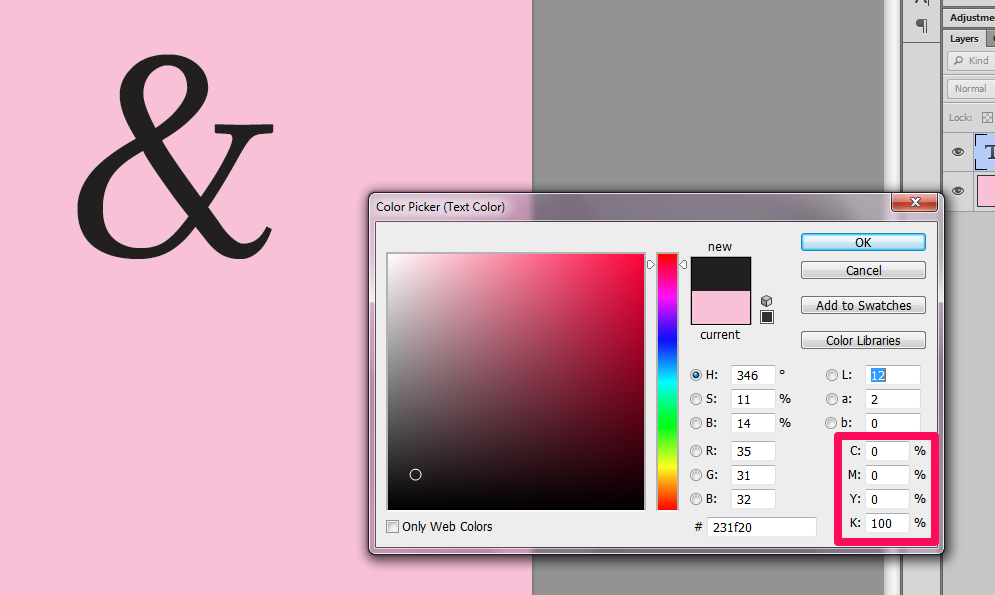
Next you'll want to make sure that you're type is only using one color. To do this, select your type and click on the color changer. In the color dialog, you'll see percentile values for CMYK, make sure that C, M & Y are 0% and K is 100%.
Now you're ready to export your file. You'll need to save your file as a Photoshop PDF file.
Important!

Make sure that when you save your Photoshop file as a Photoshop PDF that you use the "Press Quality" Adobe PDF Preset. This way Photoshop will setup your file's separations properly. If all goes well, you should end up with a press-ready PDF with properly trapped text. You can verify this by using the Output Preview tool in Acrobat or by consulting with your print provider.