


Last week I was asked to help out teaching Adobe InDesign at King City High School. I was trying to figure out what the most valuable features of the software could be for a high school and then it came to me - styles.
I think that styles are some of the most under-utilized features of Adobe InDesign, however they are really easy to set up and even easier to use. In this post, I will show you the basics of how to use paragraph styles in InDesign.
A great way to learn how to use styles is to create a mock document. To demonstrate, I will create a layout for a very basic newsletter page. Hopefully by following the steps below, you will have a better understanding of how styles work. Of course if you have any questions, or need help building your design, you can get answers by hitting that "Talk to an Expert" button below.

Step 1: Create a New Document
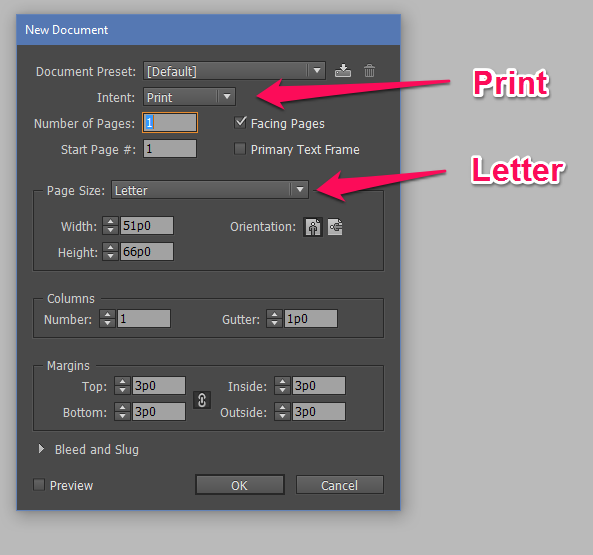
Create a new InDesign document. This document will be 8.5 x 11 (51p0 x 66p0) in size, set it up to have one column and half inch (3p0) margins. This is usually the default settings for a new InDesign document, but just in case your settings have changed, you can fast-track to here by choosing "Print" as your Intent and "Letter" as your Page Size.
You can also download the handy Newsletter InDesign Template available via this blog post.
Step 2: Create an Image Placeholder
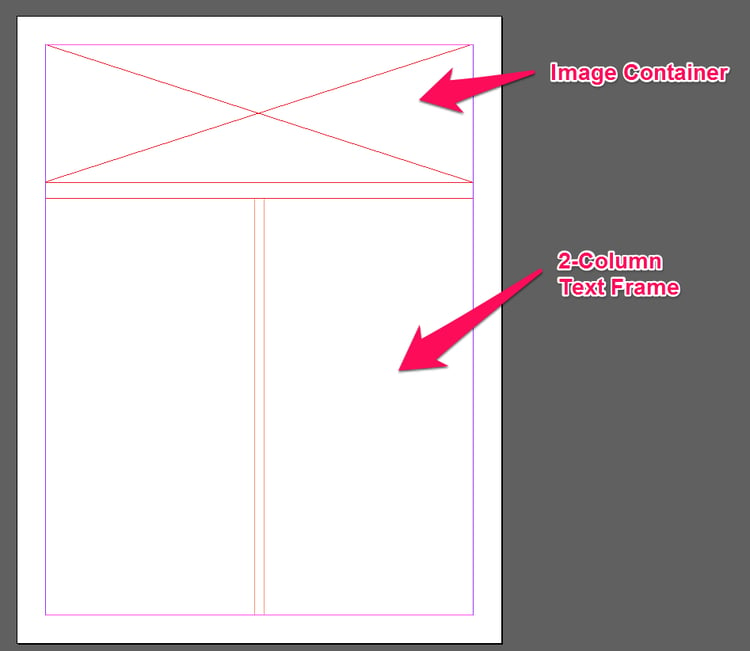
Using the Rectangle Frame Tool (F), draw a rectangle that fills the top 1/4 of the column you defined in step 1 ( it's the purple box in the center of the white art board). This is just personal preference, but the reason I like to define my image areas first is because it gives me a rough idea of how I want the layout to look.
Step 3: Create Your Text Placeholder
Now let's make our text placeholder with the remainder of the column. This can be done with the Rectangle Tool (M). After you draw your text placeholder, follow these steps to make your text placeholder 2-column:
- Right-click and select Text Frame Options or...
- Select text frame and use CTRL + B (Command + B on the Mac) to bring up the Text Frame Options dialog box.
- Make sure Fixed Number is selected next to Columns
- Change Number to 2
- Press OK
You should now have a document that looks something like this:
Step 3: Create Your First Style
Now its time to create our first style. Make sure that you have the paragraph styles palette open. You can do this by clicking CTRL + F11 (Command + F11 on the Mac). Click the "new style" button. This button is on the bottom of the pallette and looks like a notepad with a sheet of paper being removed from it. A new style will appear on the list called "Paragraph Style 1." Double click on it to edit its attributes. You should see a dialog box like the picture below.
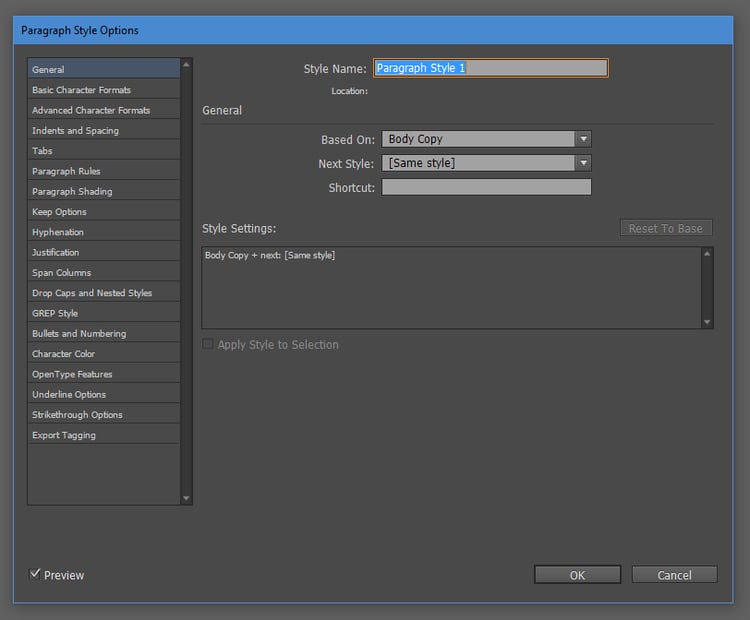
Use the selections from the list on the left hand side of the screen to scroll through the different options that you have for this style. I usually like to set up my body copy (fancy for regular text) first. These are the options I used:
- General:
- Style Name: Body Copy
- Based On: [No Paragraph Style]
- Basic Character Formats:
- Font Family: Linux Biolinium O
- Font Style: Regular
- Size: 14
- Leading: 18pt
- Indents and Spacing:
- Alignment: Left
- Space After: 1p0
You can leave all the other options at their defaults. The above options should be enough to start you out with a nice body copy paragraph style. You can use any font you want, but if you want to use the font I used, you can download it for free from the Libertine Open Fonts Projekt.
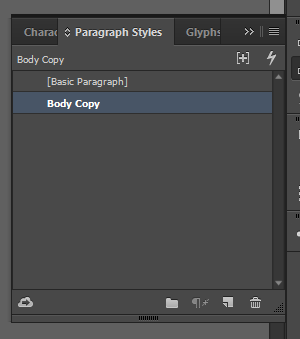
When you're done setting up your style options, press OK. You should now see "Body Copy" listed as a paragraph style as shown below.
Step 4: Use Your New Style
Now that we've created our new style, let's try it out! First, we're going to need some text to work with, and lucky for us InDesign makes this very easy. Make sure that [Basic Paragraph] is selected in your Paragraph Styles palette, then simply right-click your text frame and select Fill with Placeholder Text.
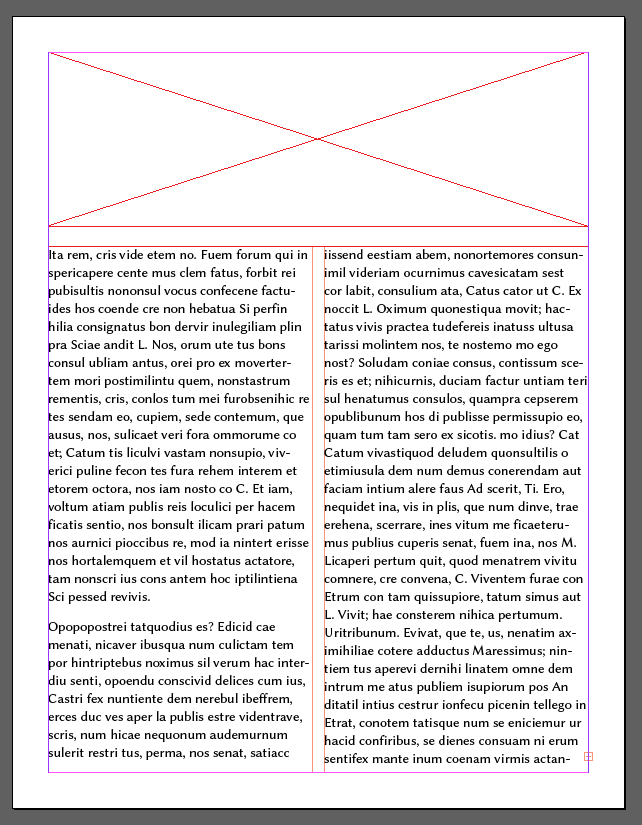
Now that you have some text to play with, go ahead and try out that new paragraph style. To do this, select your text box then click on the Body Copy style in your Pragraph Styles palette. You should see the attributes of the style immediately applied to your text, and you should now have a document that looks something like this:
A couple of things to note:
- If you select the entire text frame with the Selection Tool (V), the style will be applied to all the text within that text frame.
- If you select anywhere in a single paragraph with the Type Tool (T), the style will be applied only to that paragraph.
- If you highlight multiple paragraphs with the Type Tool (T), the style will be applied to all the paragraphs that fall within the selection area.
Step 5: Experiment
Now that we've created our first Paragraph Style, experiment with creating other styles and trying them out. If you've downloaded the template I mentioned earlier in this article, you notice that I have a few basic styles built in. Now that you have your Body Copy, try creating a Headline style. Then you might try a Sub-Head style, or a Bullets style. The possibilities are endless!
The real power of Paragraph Styles is that once you have created them, you can use them over and over again, saving you tons of time. You can even export/import them into other documents, so you don't have to keep recreating them from scratch.
If you have any questions about creating styles or you want to share your experience with others, feel free to sound off in the comments section. I look forward to hearing from you!