


Sometimes the most difficult thing about starting a newsletter is... well... starting the newsletter. We have our contributors, we know what our goals are, we know who our audience is, and we know when we want to start, but we still have to build the thing.
Well here at CASEY we're not just great at printing newsletters, we have a lot of experience designing them as well, and know I'm going to share with you the basics of how to create a newsletter in InDesign.
Before we get started, download the InDesign template so you can follow along. Or if you would rather have us design the template for you, hit the "Talk to an Expert" button.


Step 1: Determine Your Finished Size
The first thing you want to establish with any design is your finished size. How big do you want the newsletter to be? For today's example, we're going to be using a standard letter-sized (8½ x 11 inches, 51p0 x 66p0 picas, or 215.9 x 279.4 mm) sheet as our page size. We'll be facing the pages like a magazine with the intent of using saddle-stich binding. For this tutorial, we won't be using a bleed.
Step 2: Create Your Document

Let's create a new document in InDesign. You'll want to set the Page Size to "Letter" (8.5 x 11 inches, or 51p0 x 66p0 picas), and the orientation to Portrait (the icon with the little person image standing up straight). You'll also want Facing Pages to be turned on. The rest of the settings can be left as they are.
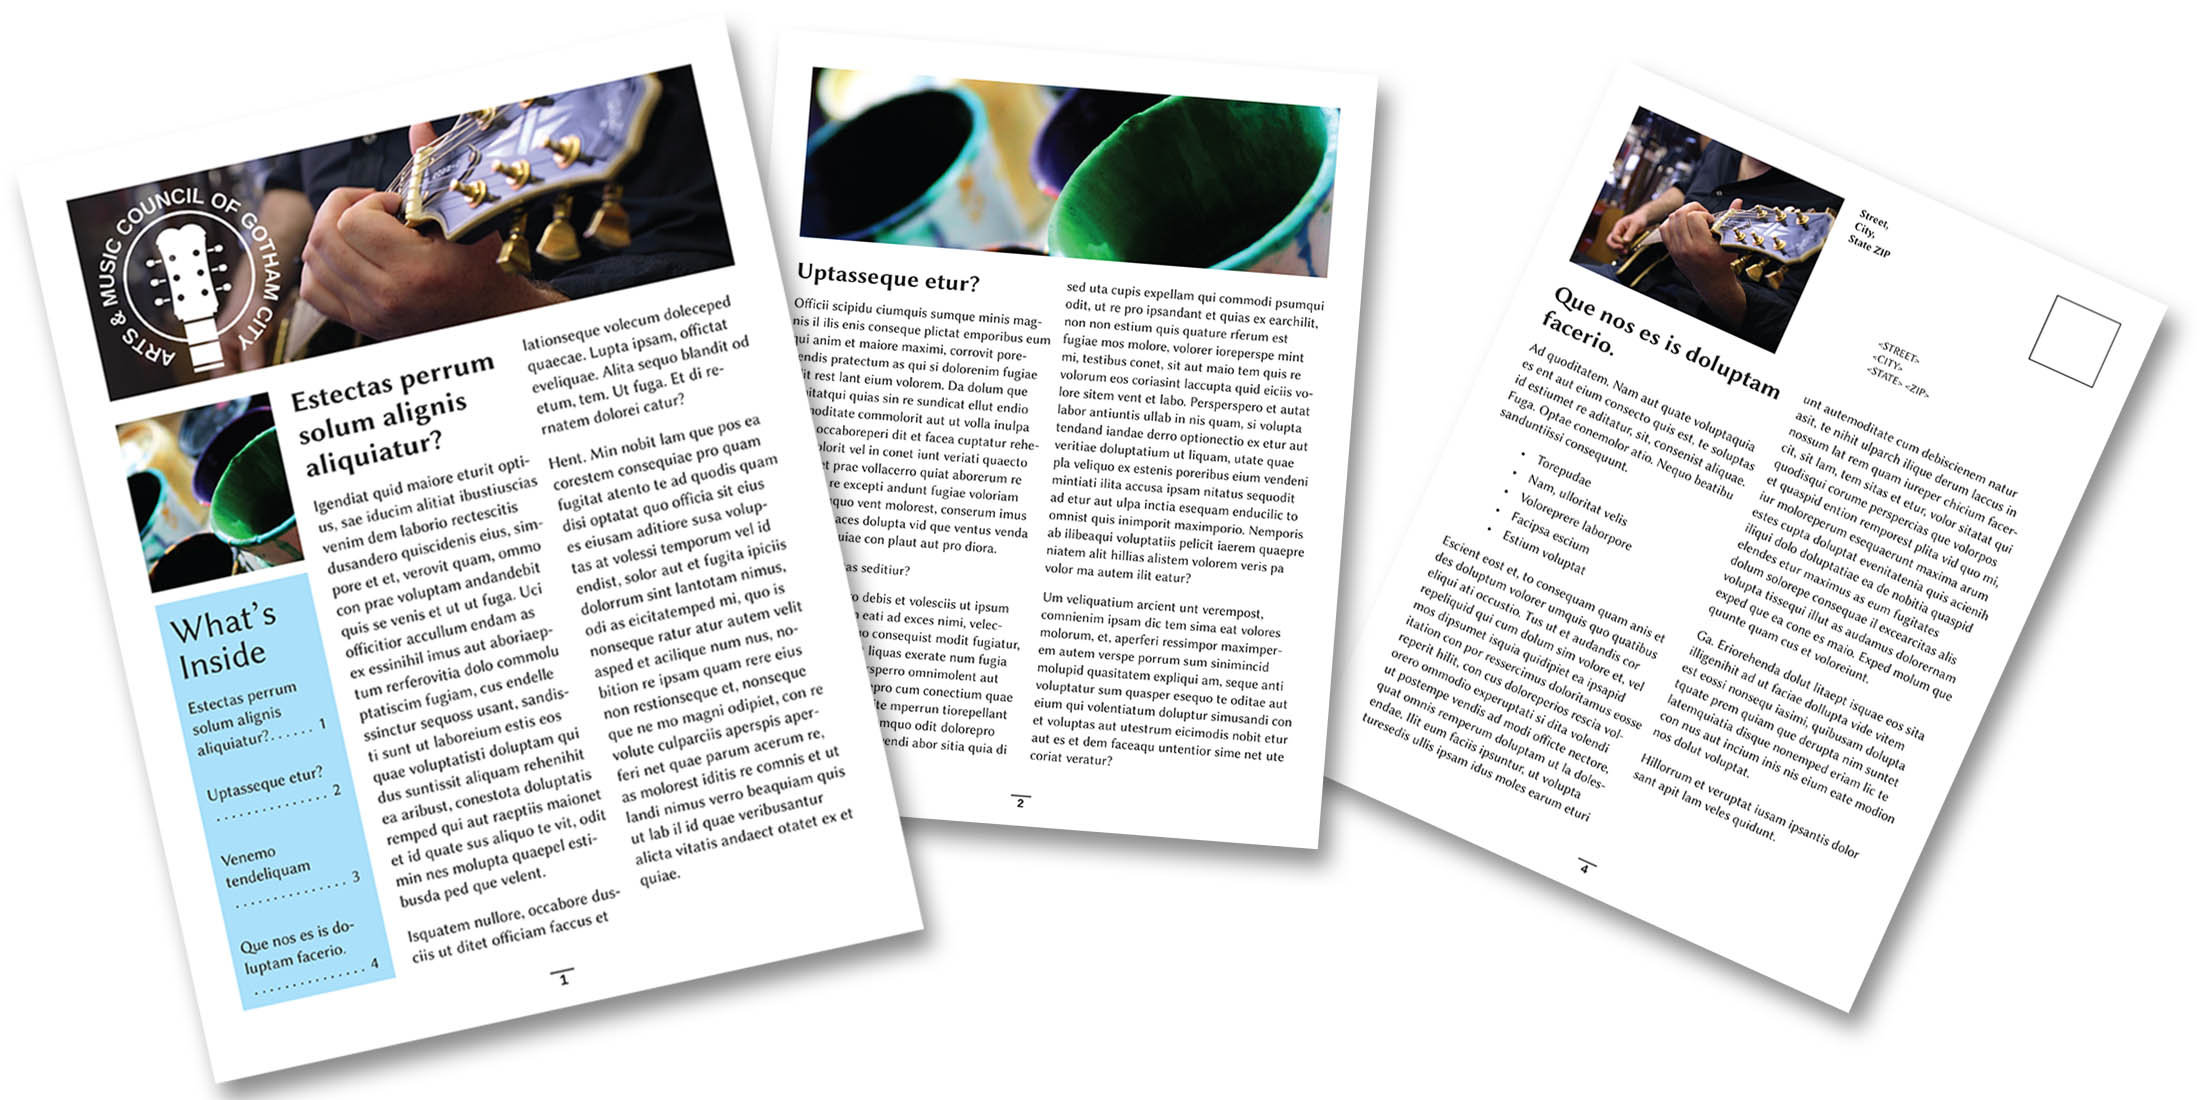
Step 3: Set Your Image Areas and Text Boxes

Now that we have our format, we can start to setup a rough draft of where we want our images and text to be. The most basic example of this is shown above, where we have a header image with text beneath. Use the Rectangle Frame Tool (Shortcut key: F) to create your image boxes, and the Type Tool (Shortcut Key: T) to create your text boxes.
Step 4: Use Columns

One thing most newsletters have in common is lots of type, type that we want our audience to read! Breaking large blocks of type into two or more columns will make your copy much easier to digest, and InDesign makes this super easy!
Ckick anywhere in your text box with the Type Tool, right-click and choose Text Frame Options (or CTRL + B). Under Colums, next to Number, enter the number 2.
Step 5: Use Paragraph Styles

Now we're on a roll, but our text still looks a bit drab. We can fix this with Paragraph Styles. Going in-depth on Paragraph Styles is a bit out of scope for this tutorial, but put simply Paragraph Styles allow you to use style assets that you can apply to text in your newsletter whenever you need them. Play around with the styles we provided in the template, or create your own by clicking the [+] in the Paragraph Styles panel.
If you want to learn more about Paragraph Styles, you can read this handy blog post.
Step 6: Add Your Images

Now comes the fun part! Click on the image box you created earlier, and add an image by clicking on File > Place or CRTL + D.
Step 7: Be Awesome!
Now that you have the basic template, you can add pages, more text and images, paragraph styles, your organization's branding or whatever else you need to make your newsletter as awesome as you are! I've also added some extra goodies to the template, including extra paragraph styles, pages, images and layouts, so be sure to download the template if you haven't already. Enjoy!